How to Bulk Select Accounts When Creating an Invoice
Onespot Payments lets you bill many people at once from a single screen, so you don't have to create invoices one at a time.
Where to Find This
- Click the ⚡ Lightning Bolt (Admin Superpowers)
- Click Billing - payments, invoices, subscriptions
- Select Bill Someone
Step-by-Step Guide
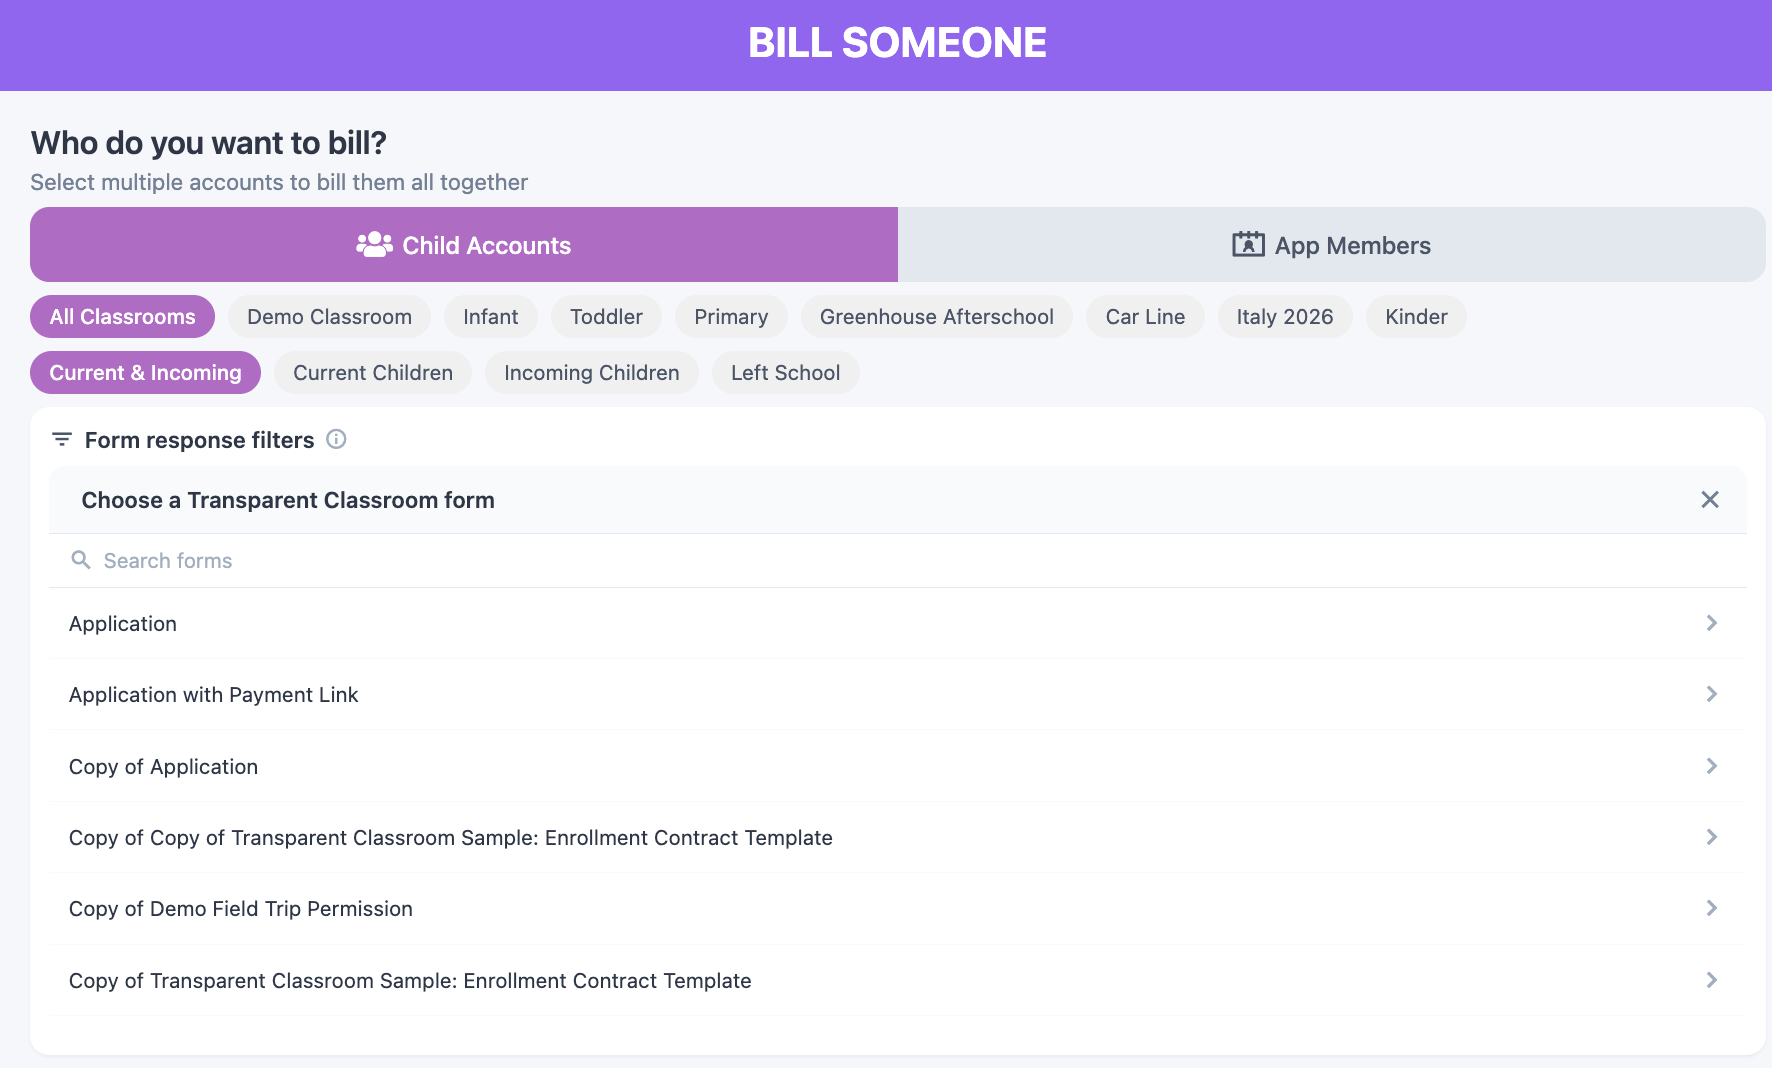
Step 1: Choose who you want to bill
If your school is connected to Transparent Classroom, you'll see two tabs at the top:
-
• Child Accounts — the children in your school
• App Members — adults/staff/other app users
(If your school is not connected to Transparent Classroom, there are no tabs — you'll just see App Members.)

Step 2: Narrowing the list with filters (optional but recommended)
- Classroom filter (Child Accounts tab) — show only children in a specific classroom.
- Status filter (Child Accounts tab) — switch between Current Children, Current & Incoming (the default), Incoming Children, and Left School.
- Form response filters (Child Accounts tab, NEW) — narrow the list by children's most recent answers on a Transparent Classroom form, like their enrollment contract, a field trip signup, or a hot lunch form.
Tap + Add form response filter and: 1) choose the form, 2) choose the question, 3) check the answer(s) to match, then Add filter. Stack multiple filters to combine them — a child must match every filter you add, but only needs one of the checked answers within a single filter. Only questions with a fixed set of answers — dropdown, multiple choice, checkboxes, or yes/no — are available to filter by. (Staff-only questions won't appear in the list, even if they have set answers.)
As you narrow the list, a "X of Y children match your filters" line appears under the search bar so you can confirm how many accounts are currently showing.
Tutorial: For a full walkthrough of form response filters, see How to Bill Children Based on Their Transparent Classroom Form Responses (Enrollment Contracts & More)
Step 3: Select All / Deselect All
Use the Select All and Deselect All buttons to act on everyone currently shown.
Important: these apply only to your current filtered view — if a classroom or status filter is active, only those accounts are affected.

Step 4: Mix Child Accounts and App Members (optional)
You can now:
- Select Child Accounts, then
- Switch to App Members and select additional recipients
All selected accounts will be included in the same invoice.
Children without a payment profile
You can still select a child who doesn't have an assigned payer yet. The invoice will wait and send automatically once a payer is assigned.

When to use a Child Account vs. an App Member account
• Use a Child Account to bill a family for that specific child (tuition, fees, supplies). This works even before a payer is assigned, as described above.
• Use an App Member account to bill an adult/staff member directly, or for charges not tied to a specific child.
Tip: Bulk invoicing works best when everyone you select gets the same item and amount, since you set the item and price on the next screen.
Step 5: Continue to create the invoice
Click Continue to move forward and finish setting up your invoice.
If you applied any classroom, status, or form response filters, the Create Invoice screen shows a "Filtered by: ..." line for each one, so you can double-check exactly who you're about to bill before sending.
Related: