How to Bill a Late Fee for a Child in Onespot
Learn how to add a late fee to a child’s account in Onespot when an invoice is overdue. This guide walks you through checking invoice status, creating a late fee item, and billing the child.
Step 1: Check the Status of the Invoice
In your Administrative Superpowers ⚡, go to the Billing section.
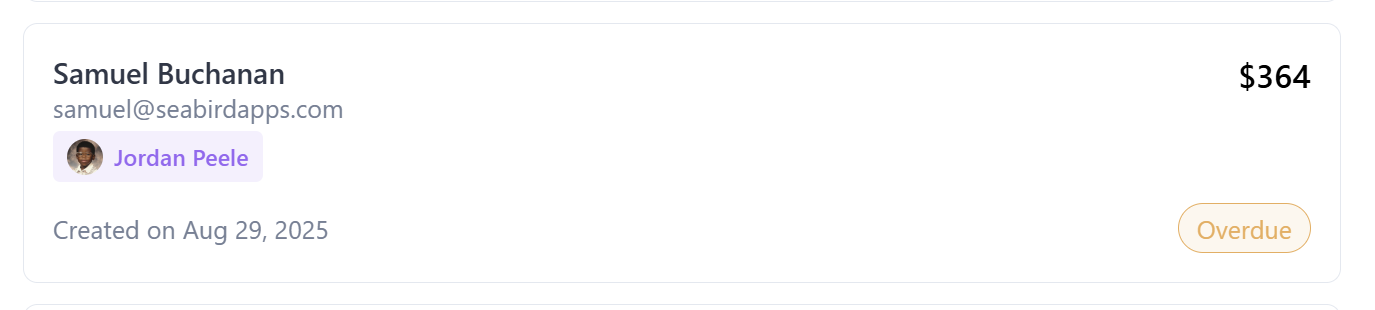
- Locate the child’s account.
- You can see right away if their invoice is marked as Overdue.
Step 2: Create a Custom Late Fee Item
- Open the Products and Services section (under Billing).
- Choose an existing fee item if appropriate, or create a new one:
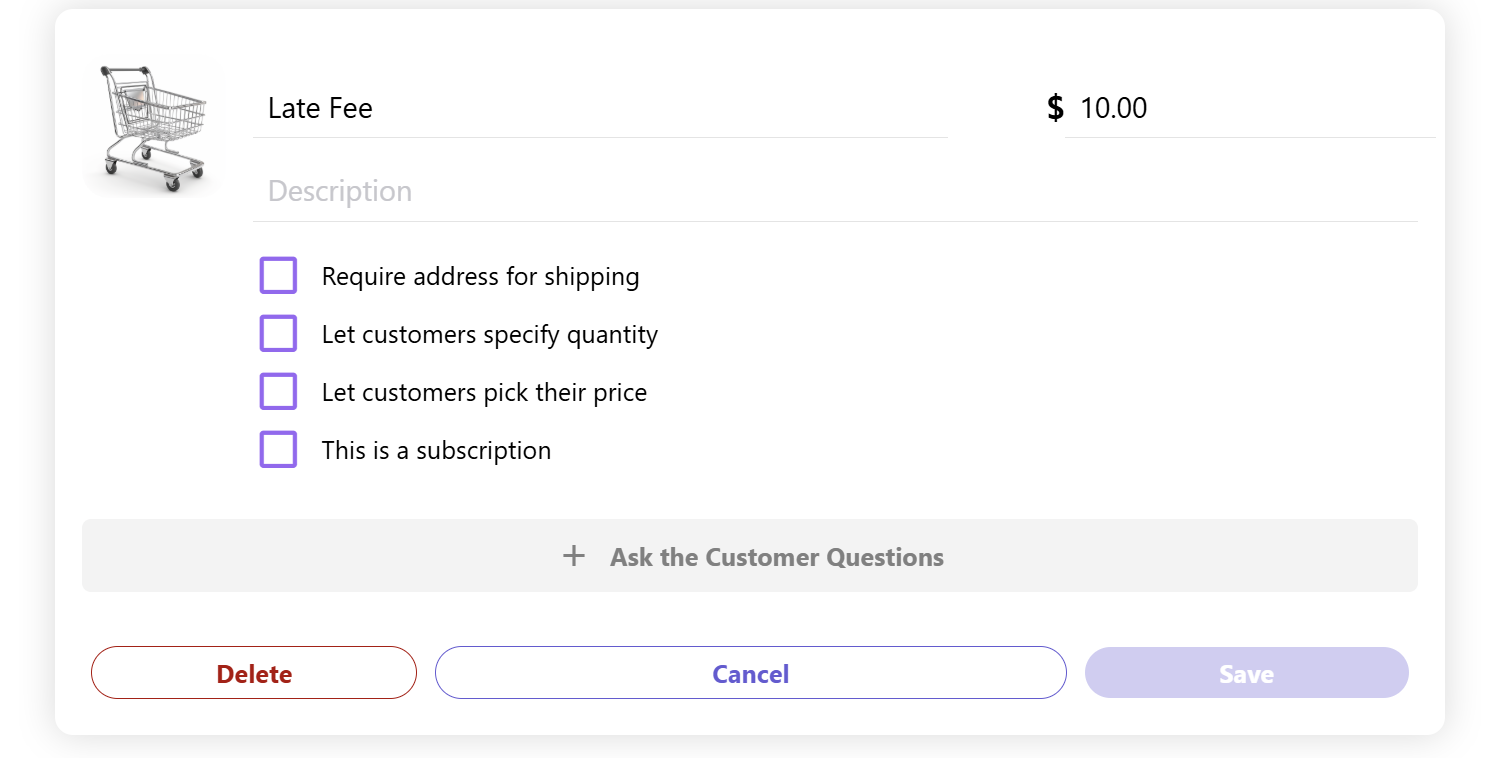
- Hover at the bottom of the list and click + Add Another.
- Enter a title such as 'Late Fee'.
- Set the fee amount you want to charge.
- Click Save.
Step 3: Charge/Invoice the Child
In your Administrative Superpowers ⚡, go back to the Billing section.
- Click on the Bill Someone tab.
- Locate the child’s account and click Continue.
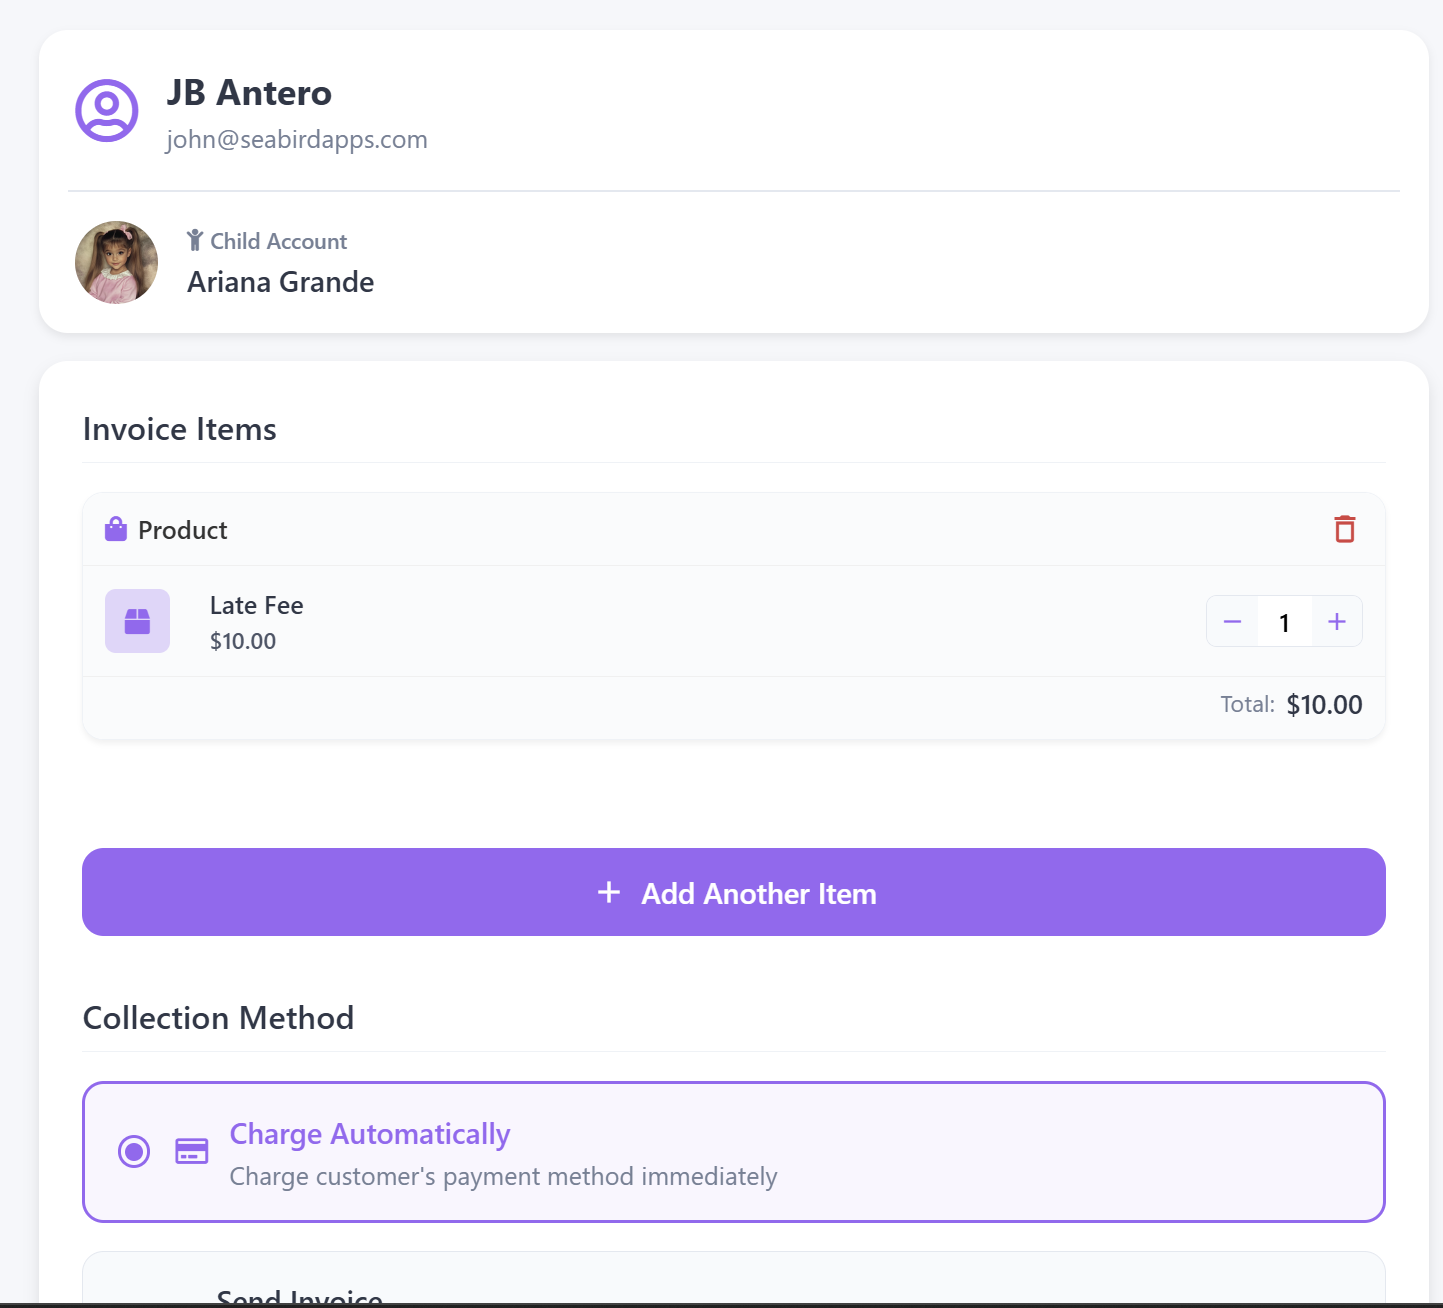
- Select the Late Fee item you created.
- Review the charge, then click Bill [parent's name].
- Send out the new invoice or apply the charge directly.
💡Autocharge usually removes the need for late fees, but not all parents opt in. Onespot gives you flexibility — charge a flat fee, a percentage, or handle it on a case-by-case basis.
For a smoother watch, I recommend playing this video at 1.2x speed (click the ⚙️ at the bottom-right)
💡 Alternative: Add a Custom Late Fee
If you don’t want to create a “Late Fee” item in Products and Services, you can apply a one-time custom fee directly:
- In your Administrative Superpowers ⚡, go to the Billing section.
- Click Bill Someone.
- Locate the child’s account and click Continue.
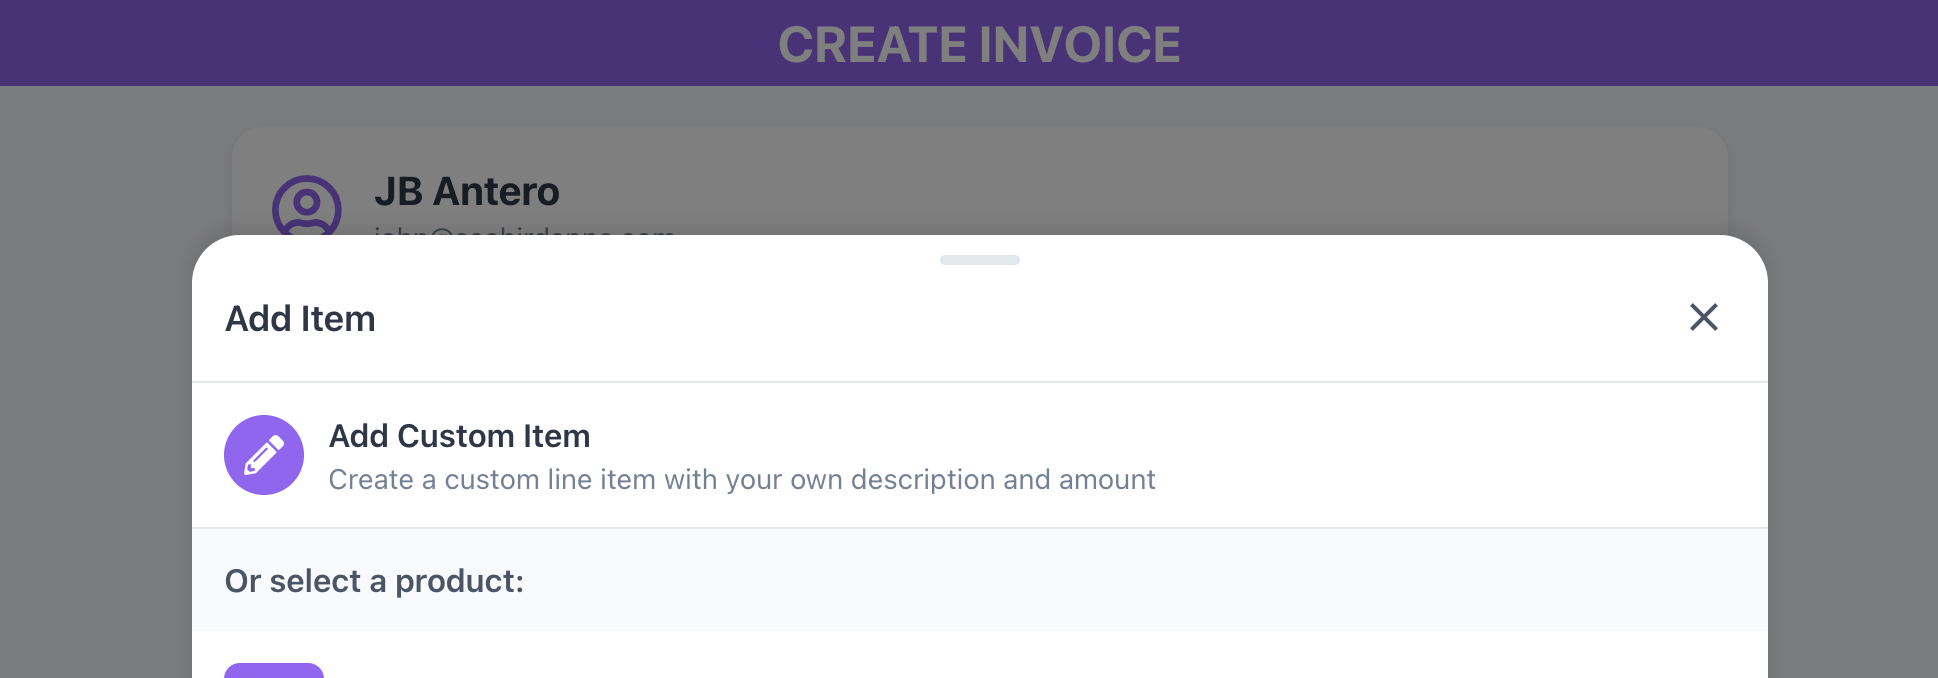
- Instead of selecting an existing item, click + Add Custom Fee.
- Enter the custom item details — amount and description.
- Click Bill [parent's name] to send out the invoice or apply the charge.