How to Create a TEST Child Account in Transparent Classroom
(Practice sending invoices and billing safely in Onespot)
Overview
If you’d like to practice sending invoices and testing billing workflows in your Onespot app without affecting real families, you can create a Test Child inside Transparent Classroom and link it to a staff/parent account.
This allows you to:
- Practice creating and sending invoices
- Test billing workflows
- Assign payment profiles
- See how invoices appear to parents
Below are the simple step-by-step instructions.
Part 1: Create a Test Child in Transparent Classroom
Step 1: Go to Children
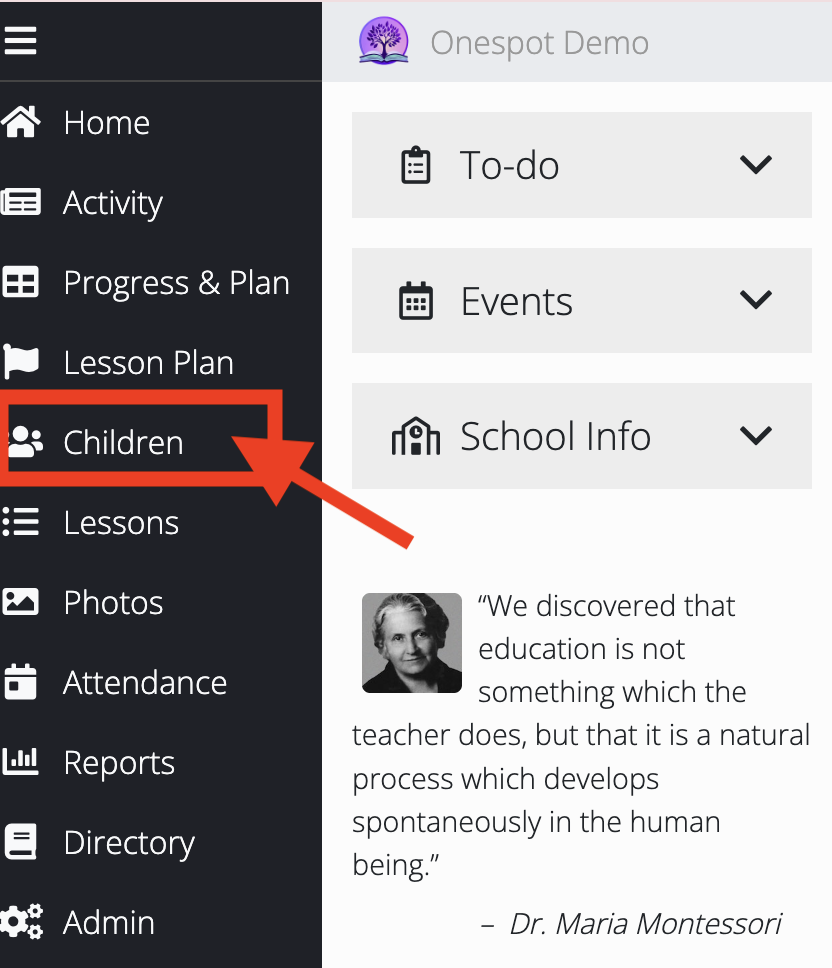
- Log in to your Transparent Classroom dashboard.
- On the left sidebar, click Children.
Step 2: Add the Test Child Details
-
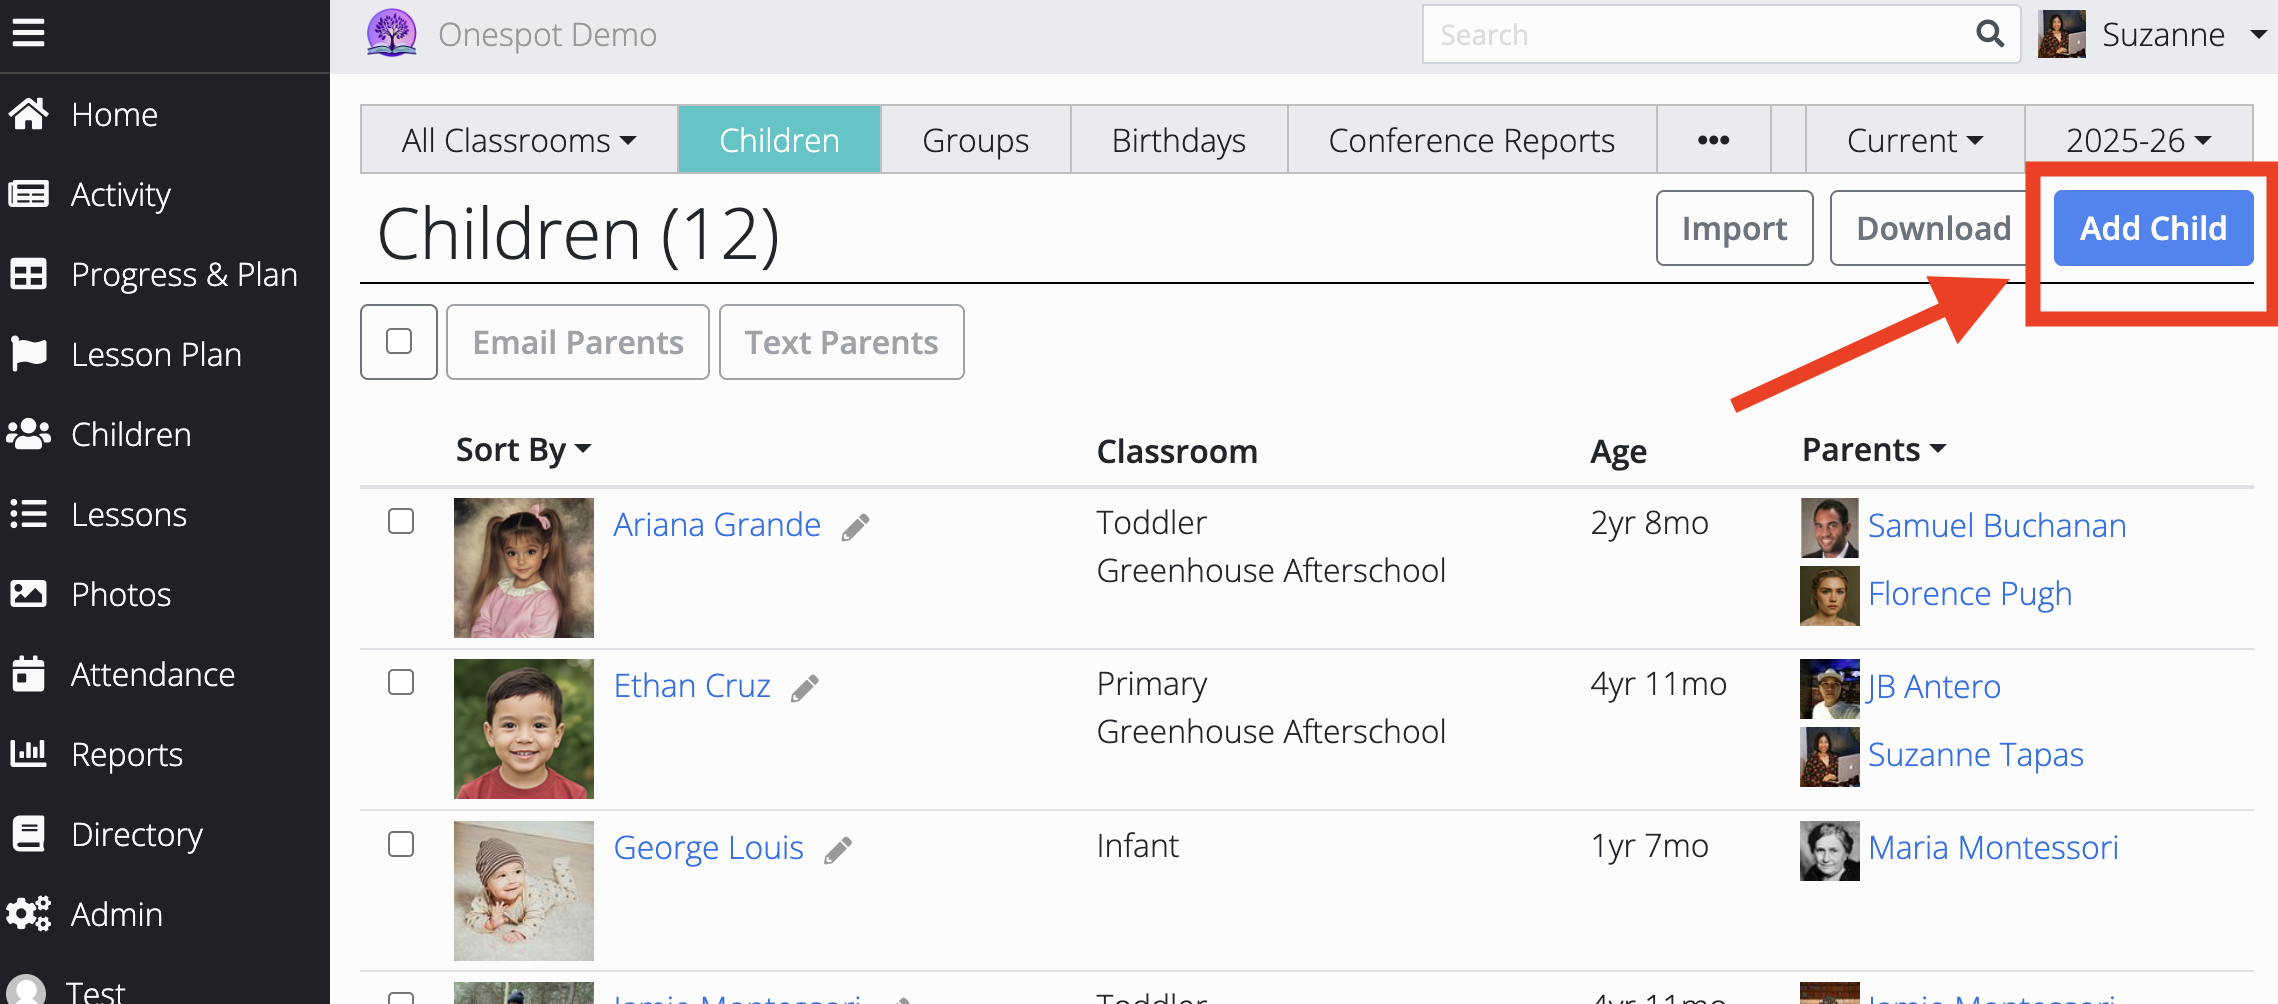
Click Add Child (top right corner).
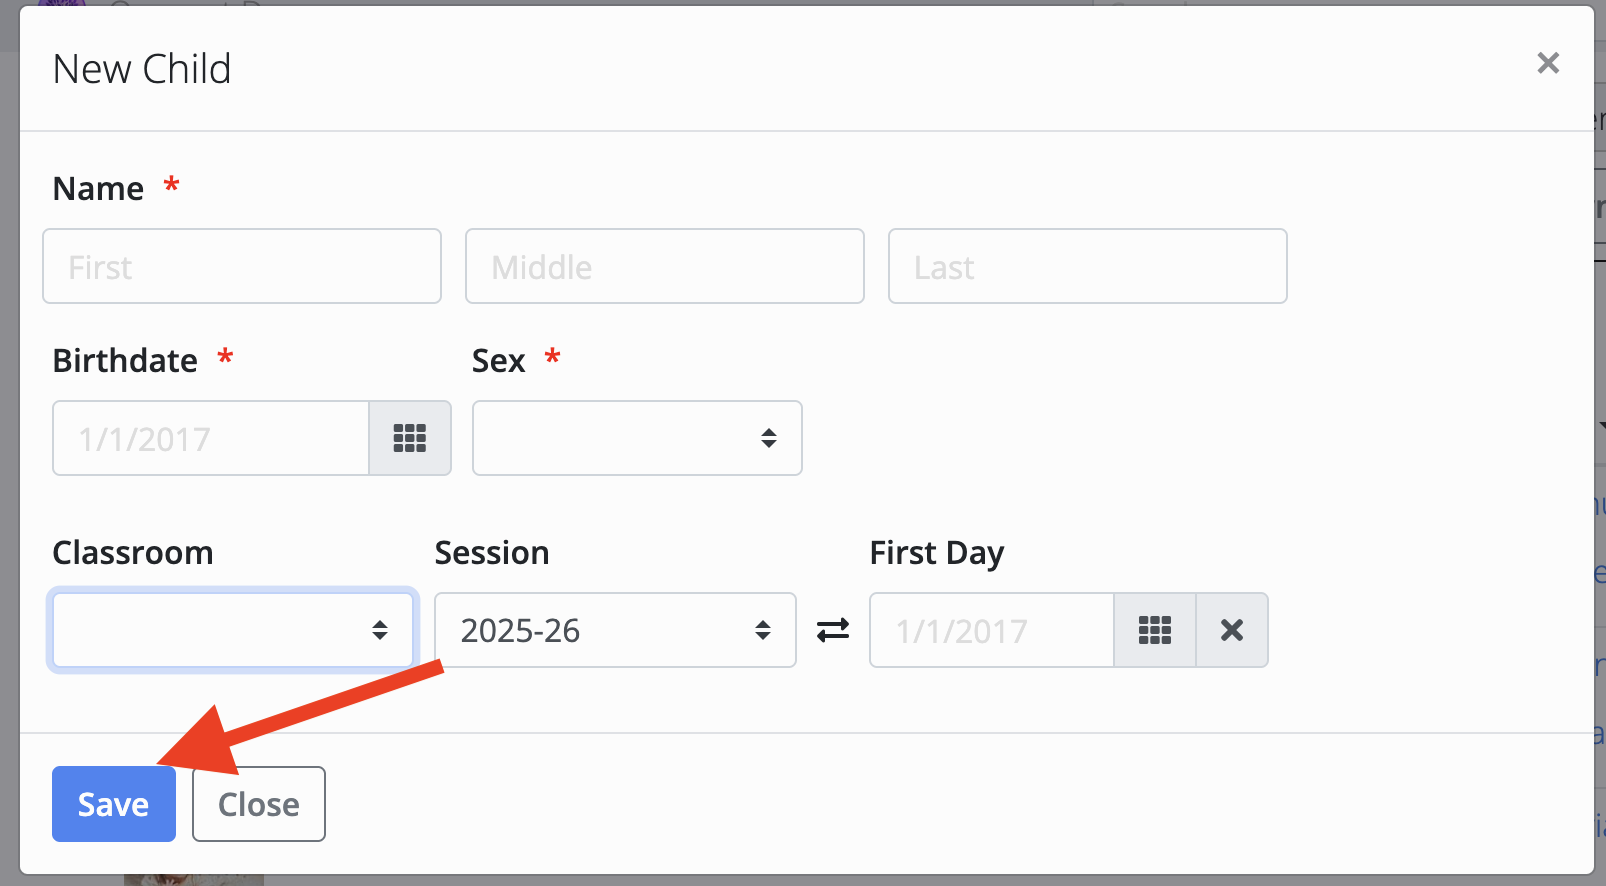
Enter the required details:
- Name: Test Child (or any name you prefer)
- Birthdate: You can use a made-up date
- Gender
- Classroom (for example, Demo Classroom).
- Click Save.
(Optional) Add a Photo
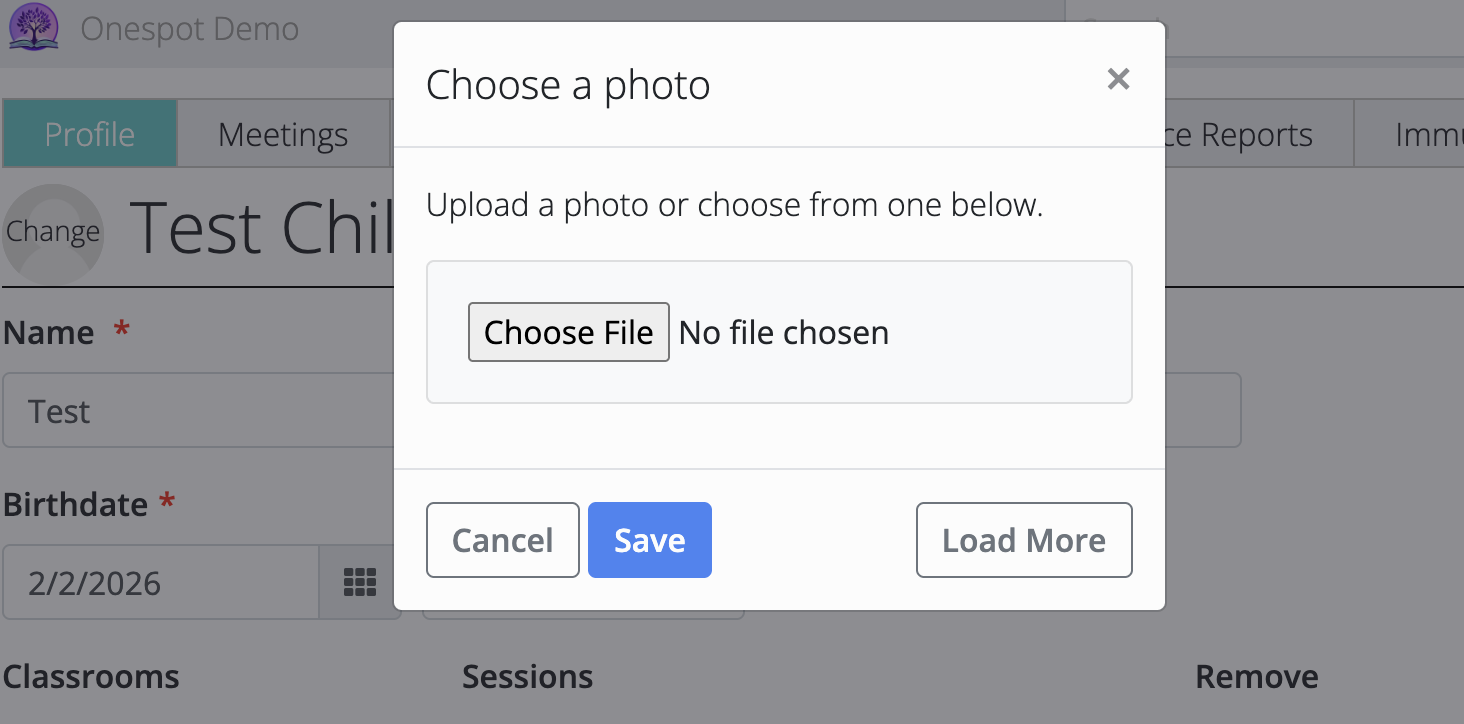
After saving:
- Open the Test Child profile.
- Click Change next to the profile image.
- Upload a photo and click Save.
⚠️ Adding a photo is completely optional
Part 2: Choose the Account That Will Be Used for Billing Practice
Before adding a parent to the Test Child, decide which Transparent Classroom account will be used to practice sending invoices and billing.
This can be:
- A staff account
- An admin account
- Or a separate test account created for training
⚠️ Important:
The account must have the Parent role turned on in Transparent Classroom.
If the Parent role is not enabled, the account will not appear when you try to add it to the Test Child.
Step 1: Turn On the Parent Role (If Needed)
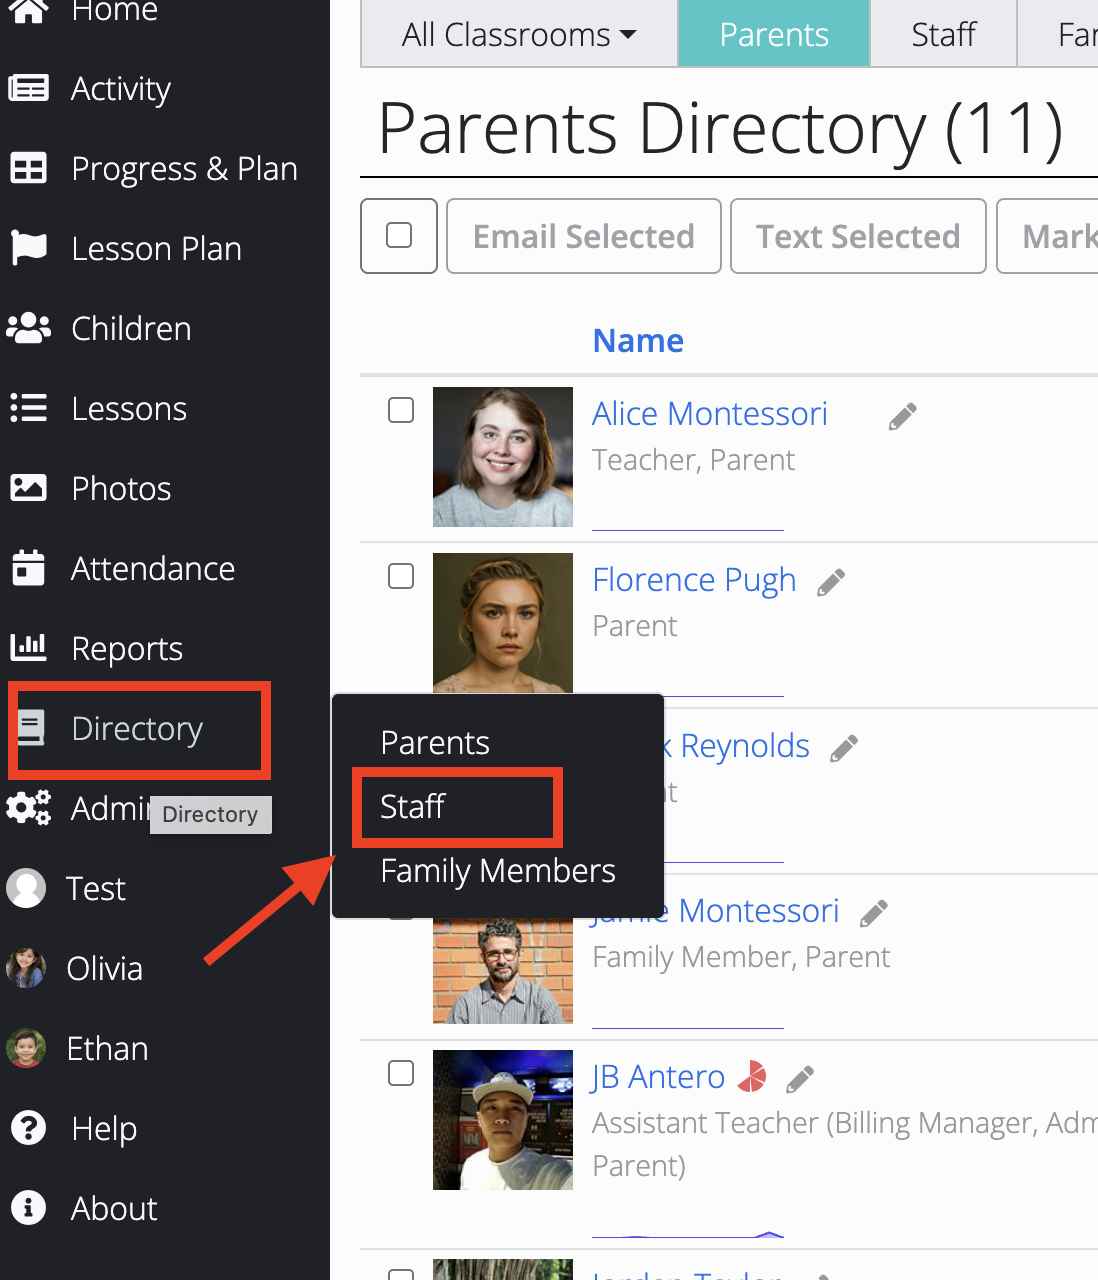
- Go to Directory in Transparent Classroom.
- Click Staff.
- Select the account that will be used for billing practice.
- Click Edit.
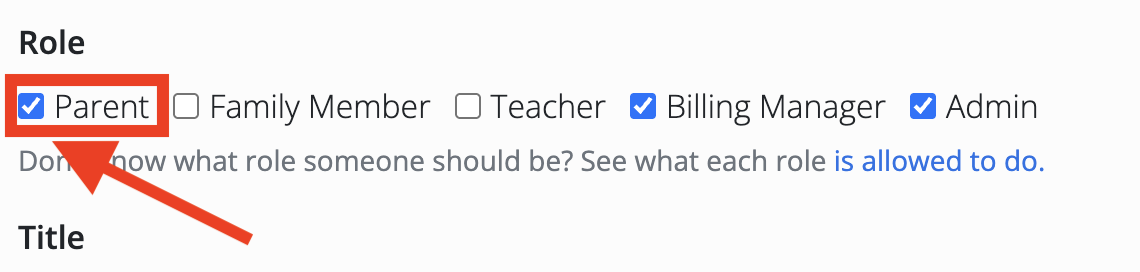
- Under Role, make sure Parent is selected (not just Staff or Admin).
- Click Save.
If the Parent role is not enabled, the account will not appear in the parent dropdown when adding it to the Test Child.
Part 3: Add the Parent to the Test Child
Once the account is ready:
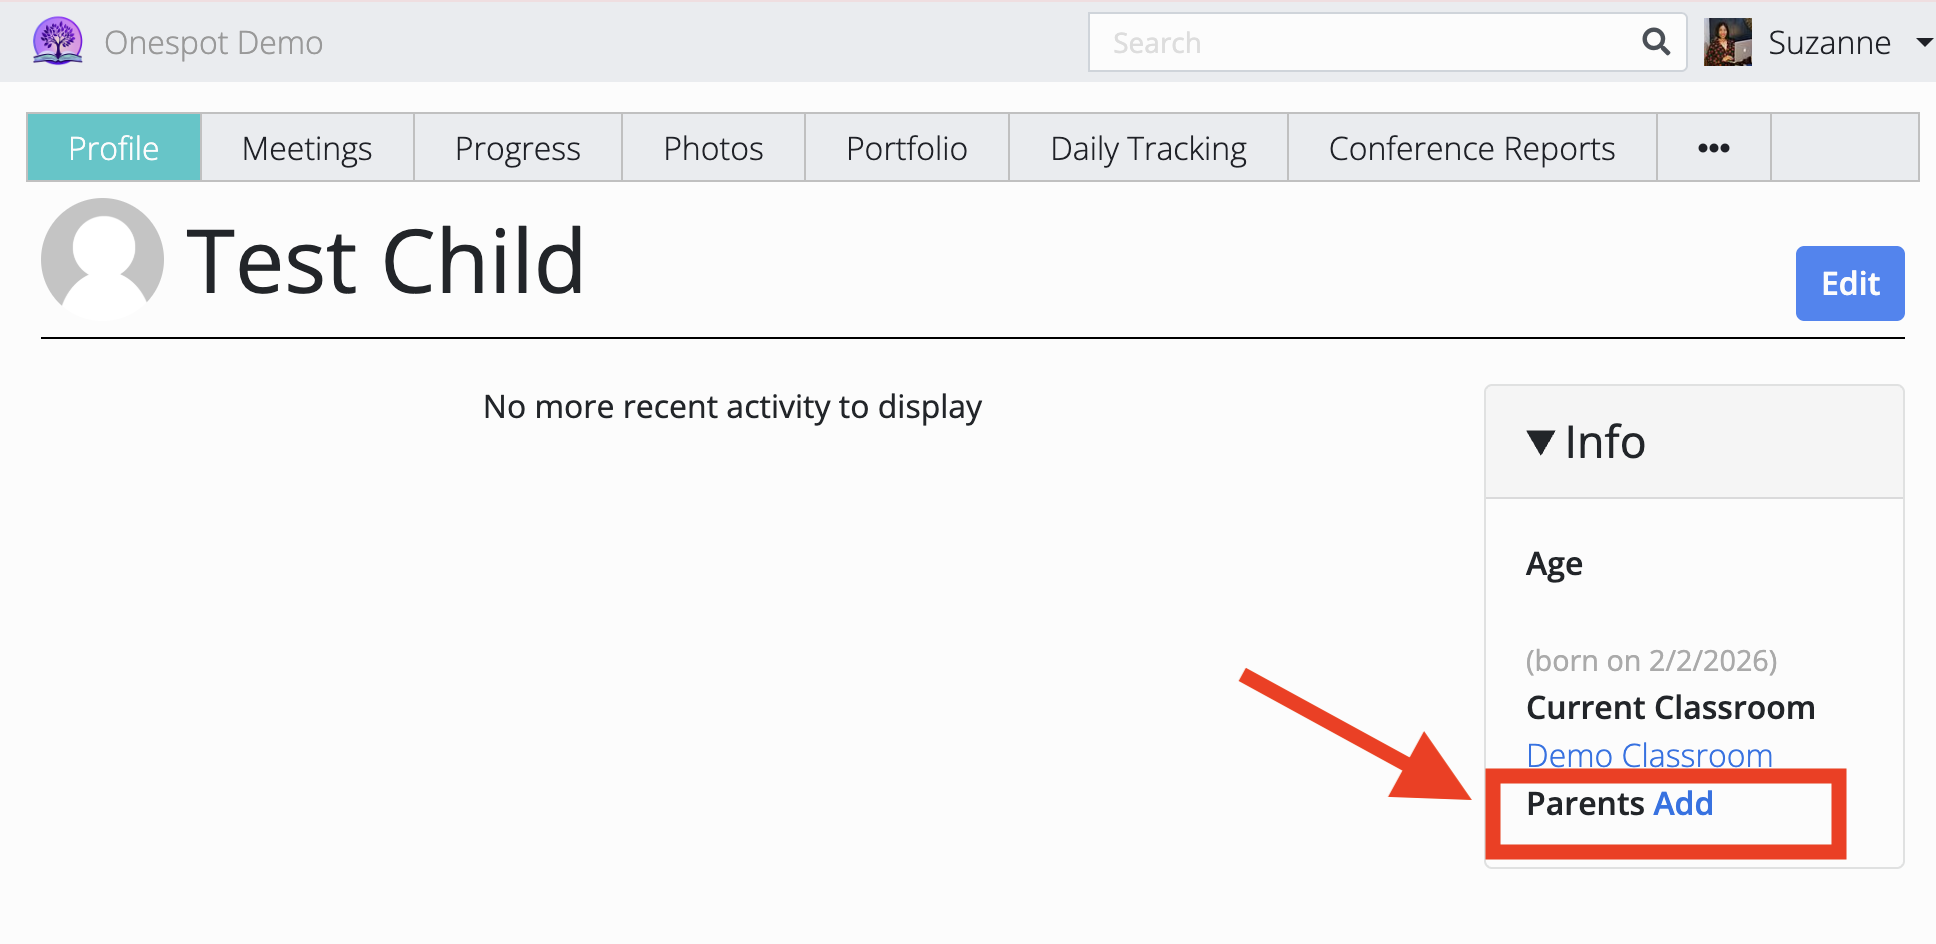
- Go to Children.
- Click your Test Child.
- On the right side under Info, click Add next to Parents.
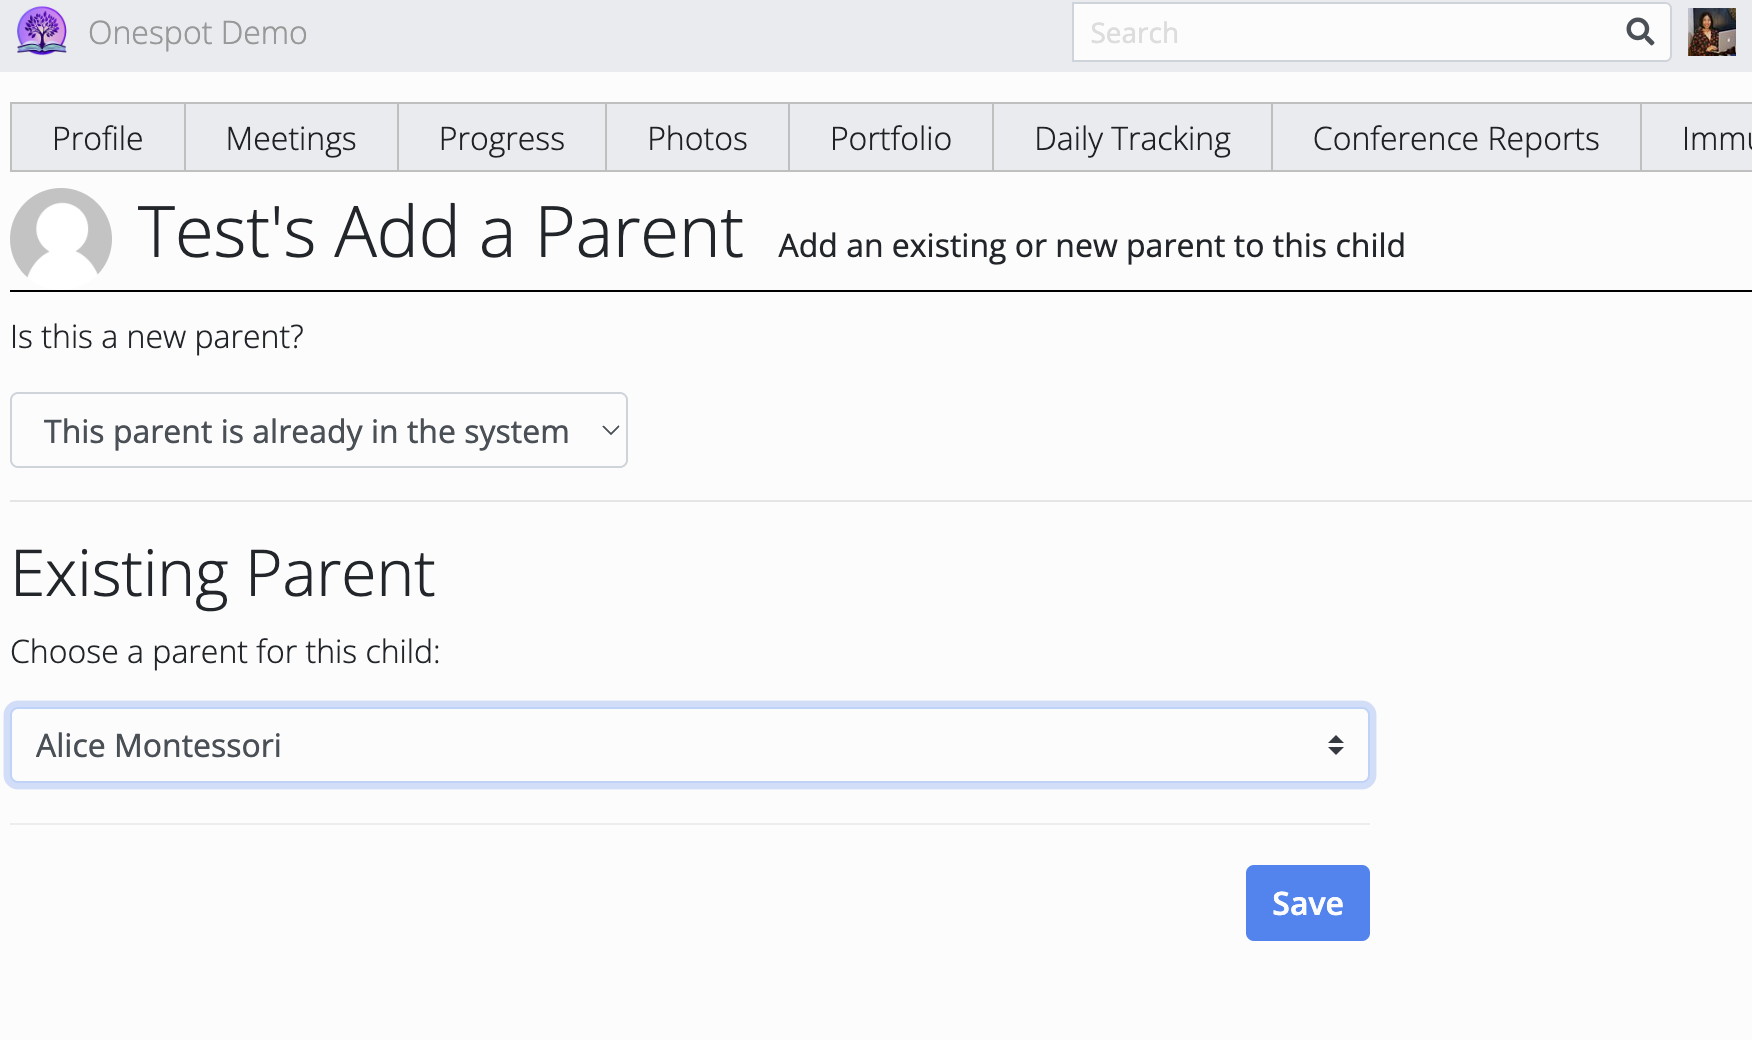
Select an Existing Parent
-
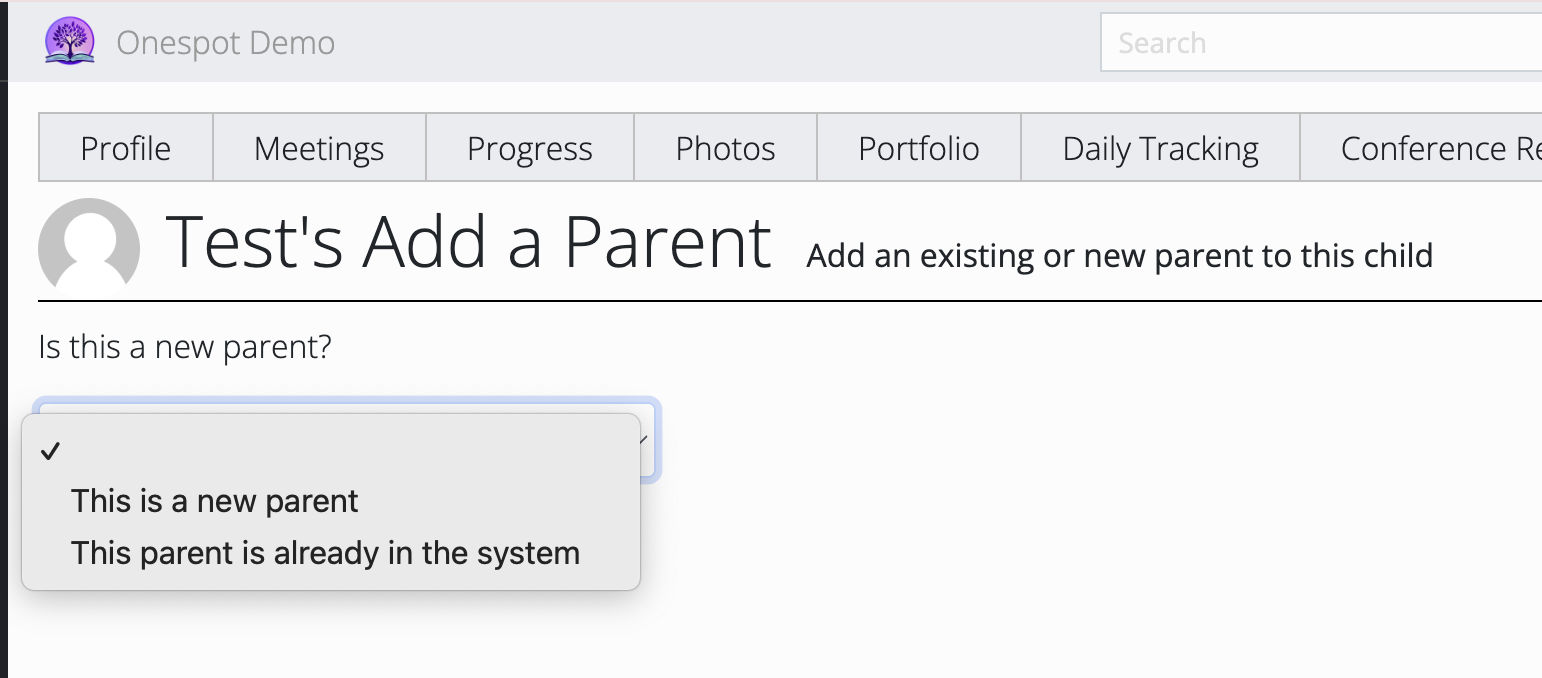
In the dropdown under “Is this a new parent?”, choose:
This parent is already in the system.
- Under Existing Parent, click the dropdown.
- Select the account you prepared for billing practice.
- Click Save.
✔️ The Test Child is now linked and ready for sending invoices and practicing billing inside Onespot.
Part 4: Verify in Onespot
Once everything is set up in Transparent Classroom:
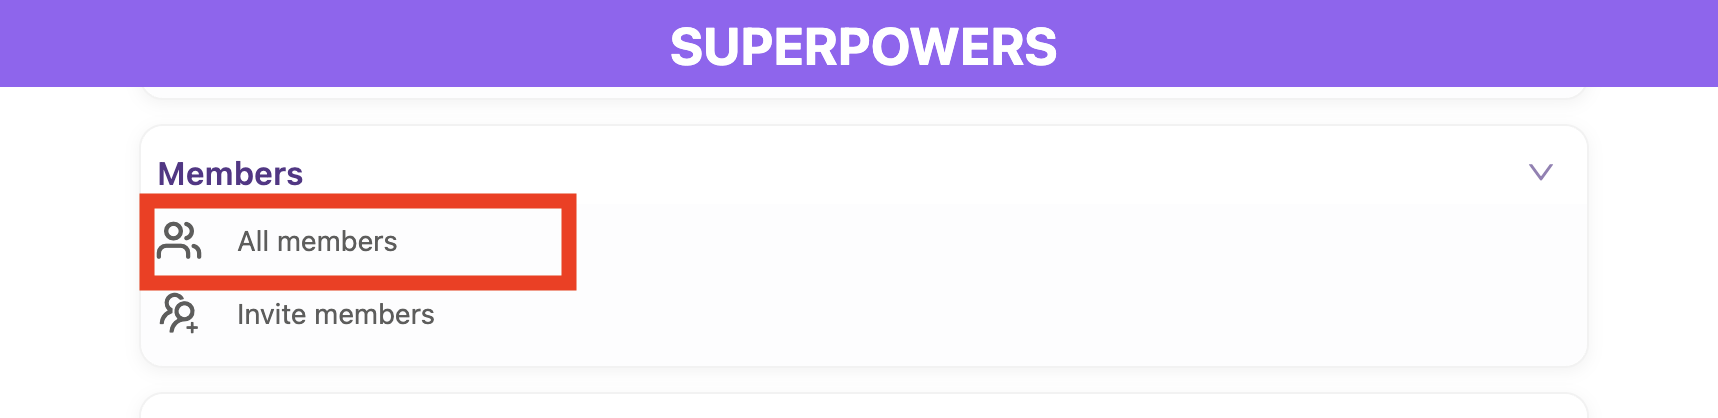
- Log in to your Onespot Admin.
- Go to All Members.
- Find the parent account you linked to the Test Child.
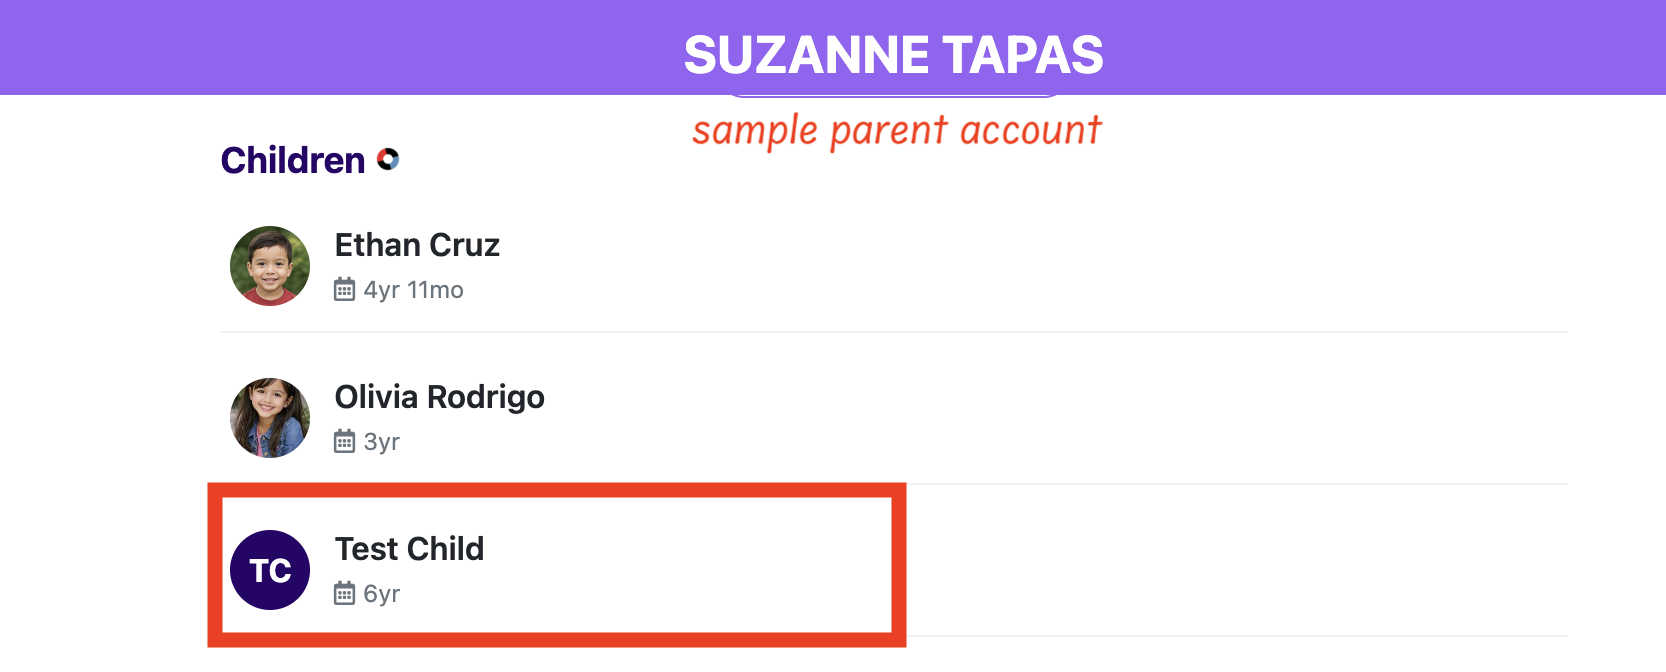
- Open their profile.
You should now see the Test Child listed under that account.
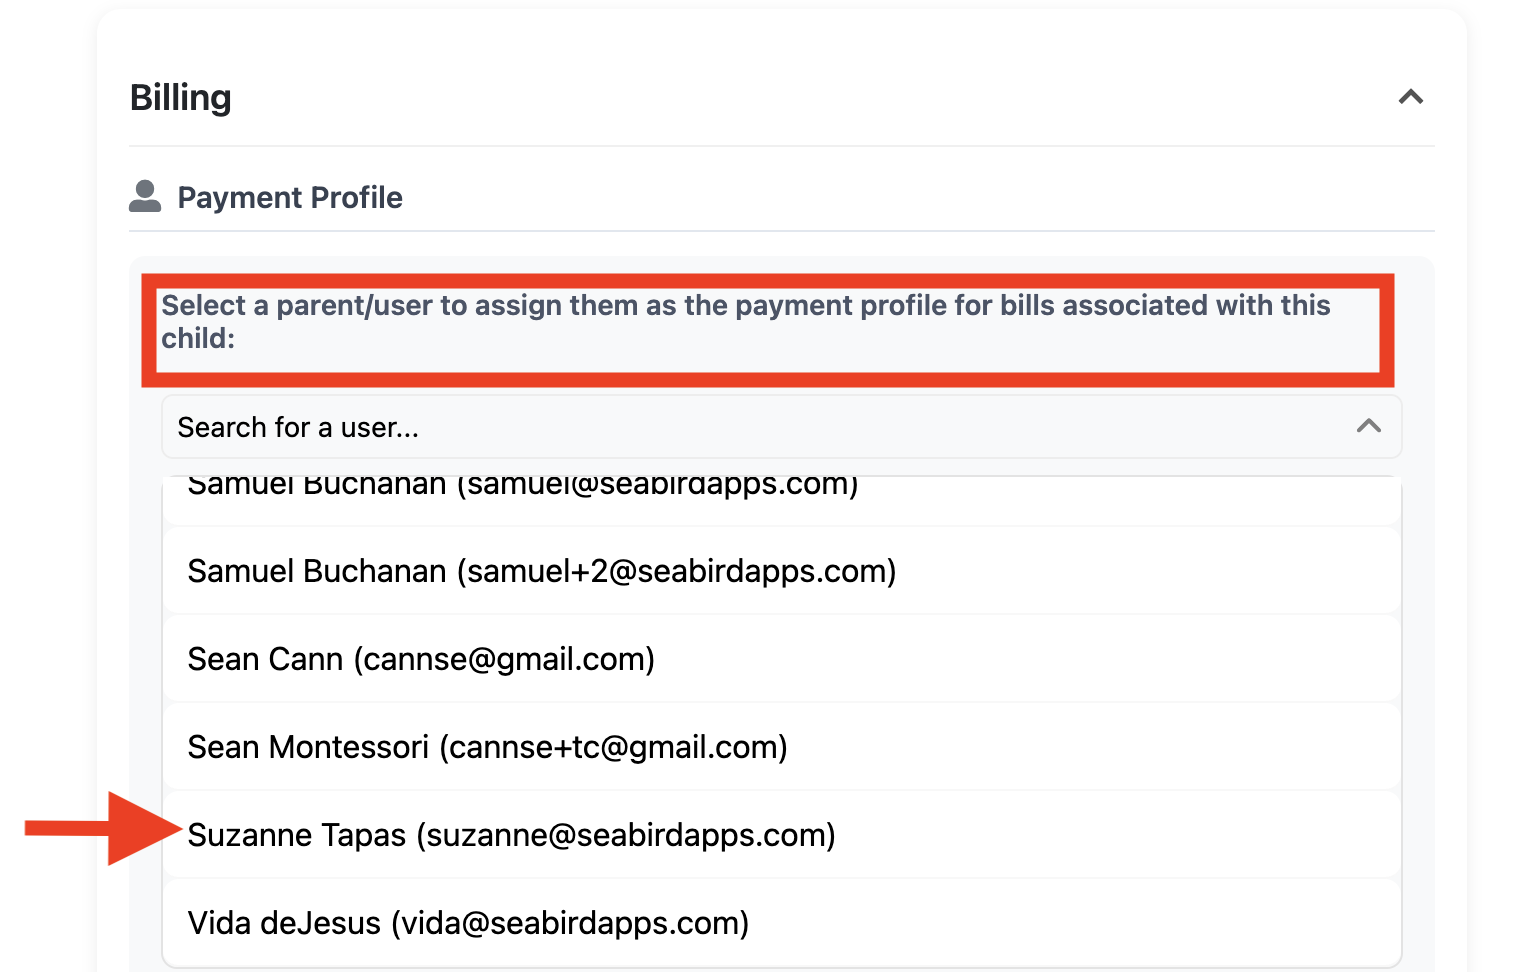
Part 5: Assign a Payment Profile in Onespot
After verifying the Test Child is linked:
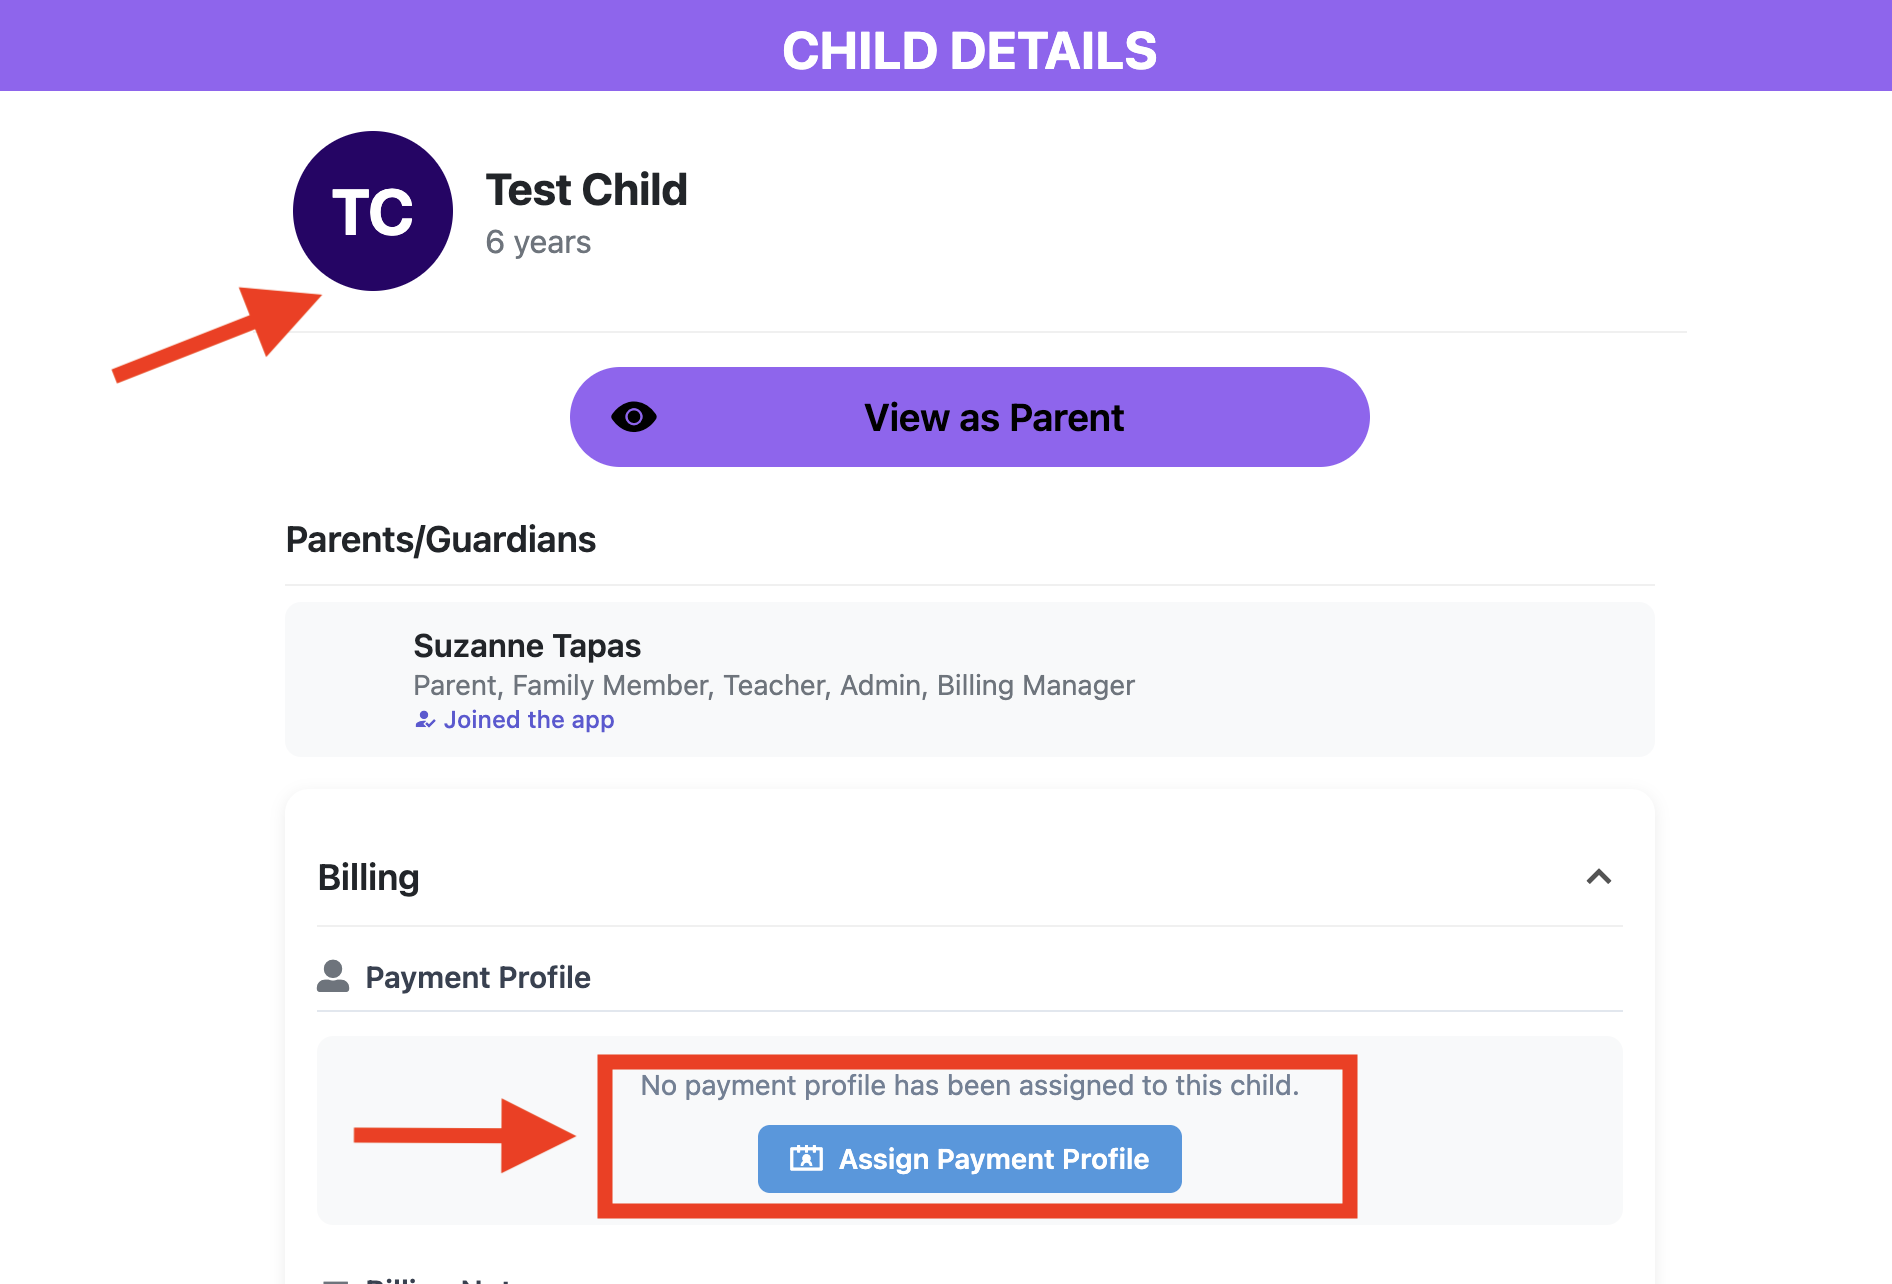
- Click the Test Child’s profile
- Scroll down to the Billing section.
- Under Payment Profile, click Assign Payment Profile.
- In the dropdown, search for or select the parent/user account that is linked to the Test Child.
- Click to select the correct account.
- Confirm the assignment.
You're Ready ✅
Once:
- The Test Child is linked to the correct parent account
- The Payment Profile is assigned
You are now ready to use the Test Child to practice:
- Creating invoices
- Sending invoices
- Reviewing billing notifications
- Testing your full billing workflow
You can safely practice invoicing and billing without affecting real families.