How to add your tax ID on invoices and receipts
Adding Tax Information to Stripe Invoices & Receipts
Stripe supports adding tax information via tax rates or by enabling Stripe Tax so that invoices and receipts show the correct tax amount and legal identifiers.
Note this is not legal or financial advice. Please see Stripe Documentation for the most up-to-date information on Stripe Tax.
Step-by-step: Configure Tax Info and add it to Stripe receipts and invoices
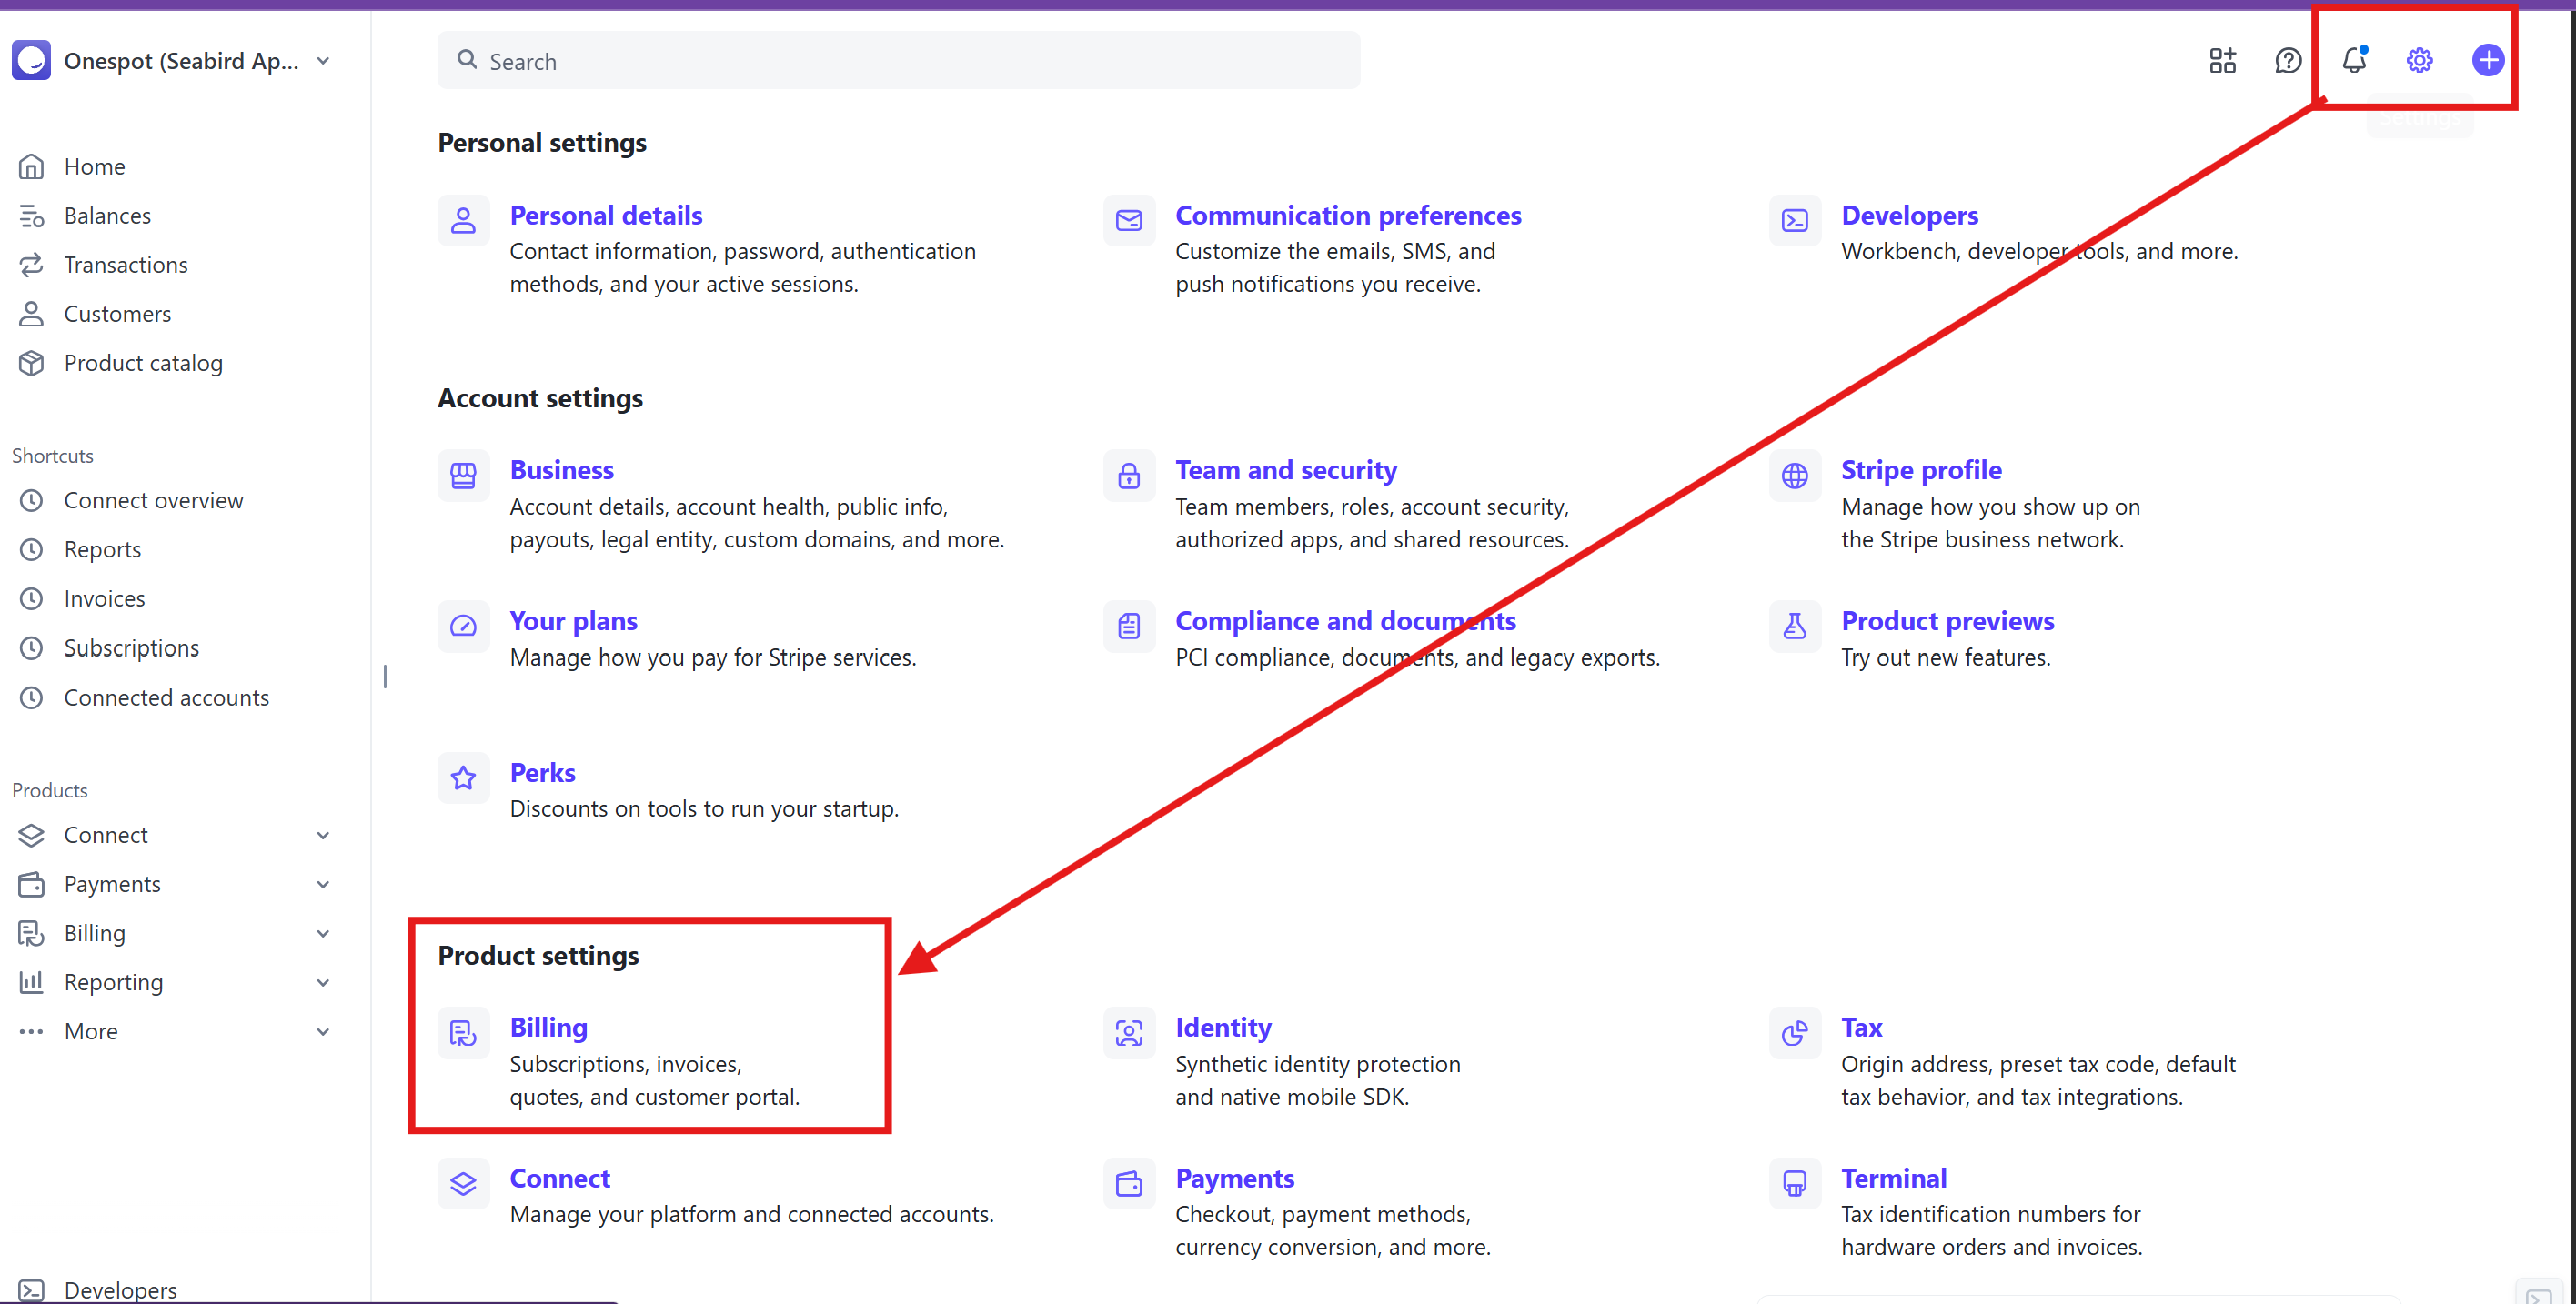
- Go to Settings → Tax settings (or Billing/Invoices section) in Stripe
-
This is where you manage tax defaults and enable automatic tax calculation. Stripe Docs

- Go to invoices

- Add your Tax ID / Business Tax Information to invoices
- Option 1: Scroll down and add your EIN to invoices

- Option 2: Select Invoice Template settings (under Billing → Invoice Template → Manage tax information), you can specify your business’s tax identification (e.g. VAT number, EIN) so invoices and receipts include your tax ID. Stripe Support


- Save and send an invoice
- Once tax is configured and applied, you can finalize and send the invoice. The taxes will show up on the invoice and in the receipt. If you have anyone on a subscription already, their next invoice will have your saved info.
If Applicable:
- Enable “Automatic Tax” Toggle on the ability for Stripe to automatically compute taxes on new invoices. Stripe Docs+1
-
Set up or edit tax rates
Under tax settings or tax rates, create or manage the tax rates (e.g. for sales tax, VAT) you’ll apply to your services or products. Stripe Docs+2Stripe Docs+2
-
Apply tax rates to your invoice line items or the whole invoice
When editing or creating an invoice, you can assign tax rates to individual items or set a default tax rate for the entire invoice. Stripe Docs+1
-
Ensure customer address / location is accurate
Stripe uses the customer’s billing or shipping address to determine which tax rates apply. Make sure the location on the customer record is correct. Stripe Docs
Set Your Invoice Footer and Default Tax ID in Onespot
(Update 711|172)
Admins can now set both the Invoice Footer and the default Tax ID directly from Onespot Payments.
This allows schools to manage the information that appears on invoices without needing to configure it separately in Stripe.
Where to Find These Settings
- Click the ⚡ Lightning Bolt (Admin Superpowers)
- Select Onespot Payments
- Open Invoice Settings

From here, you can update:
Invoice Footer
Add a custom message that will appear at the bottom of every invoice. Schools commonly use this area to include payment reminders, contact information, or thank-you notes.
Default Tax ID
Set your organization’s Tax ID (for example, US EIN) so it automatically appears on all invoices generated through Onespot.
After making any changes, click Save Settings to apply them.
How These Settings Appear on Invoices
- The Tax ID appears in the invoice header under your organization’s address.
- The Invoice Footer appears at the bottom of the invoice.
Both settings will automatically apply to invoices created through Onespot Payments.

Important Notes
- Updating the Tax ID here creates a new Tax ID record on your Stripe account.
- These settings can also be managed in Stripe, but configuring them in Onespot allows admins to manage invoice details in one place.